


Starting vegetable seeds indoors is a rewarding way to kickstart your gardening season, allowing you to grow a wide variety of vegetables from scratch and extend your growing season. Whether you’re new to gardening or looking to refine your seed-starting techniques, following a few simple steps can help ensure healthy seedlings ready for transplanting into your garden. Here’s a detailed guide on how to start vegetable seeds indoors:

Choose Your Seeds
Select vegetable seeds that are well-suited to your climate and growing conditions. Consider factors such as your local frost dates, sunlight availability, and the size of your garden space. Choose high-quality seeds from reputable suppliers, ensuring they are fresh and suited to your gardening zone.
Gather Your Supplies
Before starting, gather all the necessary supplies for seed starting. You will need seed trays or containers with drainage holes, seed-starting mix or potting soil, labels or markers for identifying plants, and a watering can or spray bottle for moistening the soil. Optionally, you may also use a heating mat to provide bottom warmth for faster germination.
Prepare Seed-Starting Mix
Use a sterile seed-starting mix or create your own by combining equal parts peat moss, vermiculite or perlite, and sterile compost. Avoid using regular garden soil, as it may contain pathogens that can harm delicate seedlings. Moisten the seed-starting mix before filling your containers to ensure it’s evenly moist but not waterlogged.
Planting Seeds
Follow the planting depth and spacing instructions on the seed packet. Generally, seeds should be planted at a depth equal to about twice their diameter. Gently press larger seeds into the soil mix and cover them lightly with additional mix. For tiny seeds, sprinkle them evenly over the surface and lightly press them into the mix without covering.
Provide Optimal Conditions
Place your seed trays in a warm, bright location where they will receive indirect sunlight or use fluorescent grow lights positioned a few inches above the seedlings. Maintain a consistent temperature of 65-75°F (18-24°C) to promote germination. Use a dome or plastic wrap to cover trays until seeds germinate, then remove it to prevent excessive moisture buildup.
Water Carefully
Keep the seed-starting mix consistently moist but not waterlogged. Use a fine mist spray bottle or watering can with a gentle sprinkle to water seedlings, ensuring the soil is evenly moist. Avoid overwatering, which can lead to damping-off disease and root rot. Water from the bottom if possible to prevent disturbing seeds and seedlings.
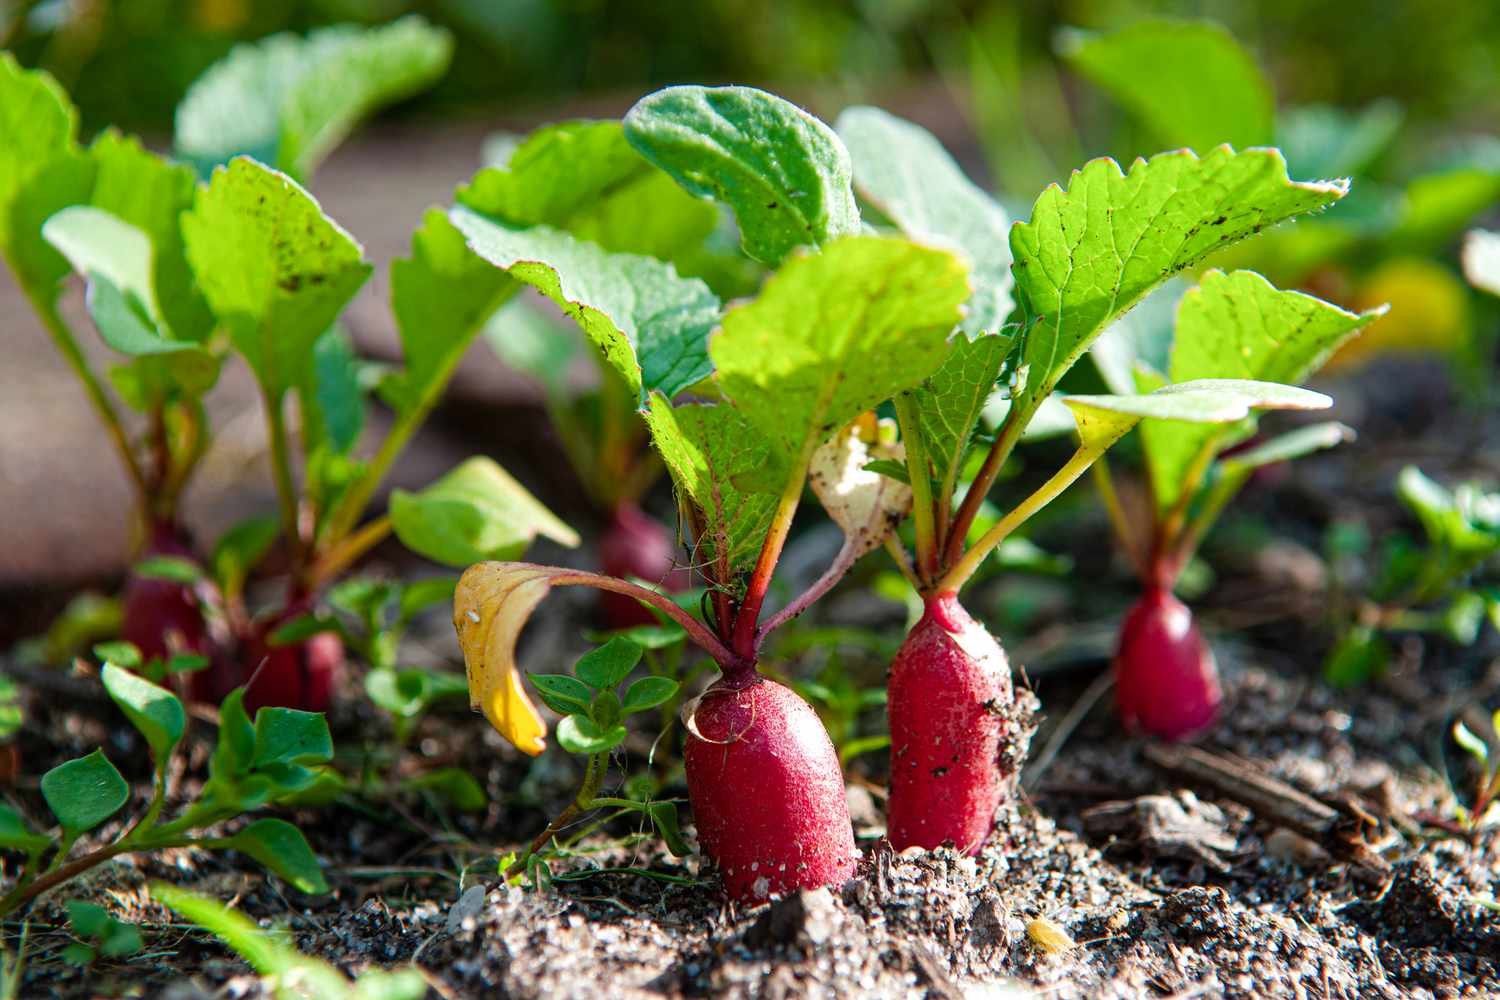
Thin and Transplant
Once seedlings have developed their first set of true leaves and are sturdy enough to handle, thin them out by removing weaker or overcrowded seedlings. Transplant individual seedlings into larger pots filled with potting soil or directly into garden beds prepared with fertile, well-drained soil. Handle seedlings carefully by their leaves to avoid damaging delicate stems.
Harden Off Seedlings
Before transplanting seedlings outdoors, gradually acclimate them to outdoor conditions over 7-10 days. Start by placing them in a sheltered, shaded location for a few hours each day, gradually increasing their exposure to sunlight, wind, and fluctuating temperatures. This hardening-off process helps seedlings adjust and reduces transplant shock.
Conclusion
Starting vegetable seeds indoors allows you to take control of your garden’s success from the very beginning, ensuring strong, healthy plants ready for outdoor planting. By choosing the right seeds, preparing your supplies and seed-starting mix, providing optimal light and temperature conditions, and transplanting seedlings with care, you can enjoy a productive and satisfying gardening season. Experiment with different vegetable varieties, learn from each growing experience, and enjoy the satisfaction of growing your own food from seed. With patience and attention to detail, you’ll soon be harvesting fresh, homegrown vegetables straight from your garden. Happy gardening!


Slot game tại 66b nguyễn sỹ sách có biểu tượng Wild mở rộng, Scatter kích hoạt free spin và các mini-game phụ – mang lại nhiều lớp thưởng, tăng tính giải trí và khả năng thắng lớn. TONY04-17